Once you've made pasta dough with your mixer, you can then use the pasta press - 6 shapes (5KSMPEXTA) to create wonderful spaghetti, bucatini, rigatoni, fusilli, large or small macaroni.
Here are the steps for assembling the pasta press:
- Rotate the cutter away from the housing base so that the auger may be inserted (the auger looks like a drill bit). Then, insert the auger into the housing base, cross-tab first. It should settle completely inside the housing.
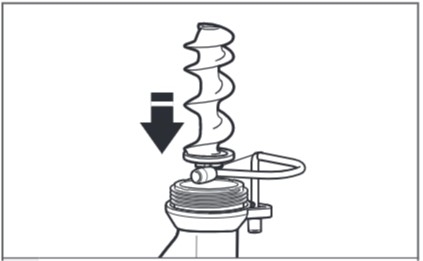
- Place the pasta plate that you'd like to use on to the housing base so that the pasta plate’s tab inserts into the auger base.
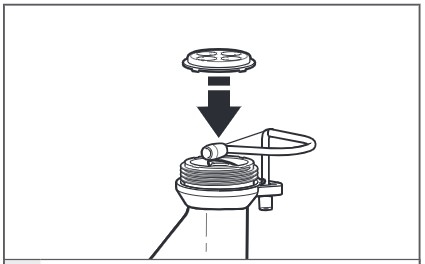
- Screw the pasta ring on to the housing base until it sits firmly in place.
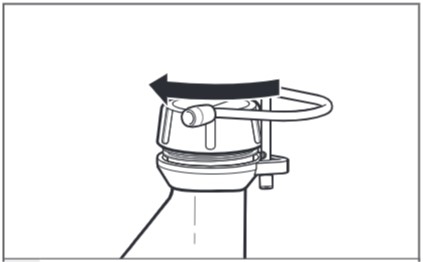
Once you've put the pasta press together, you're ready for it to be powered by the mixer.
Here are the steps for attaching the pasta press to the mixer:
- Turn mixer off (speed '0') and unplug.
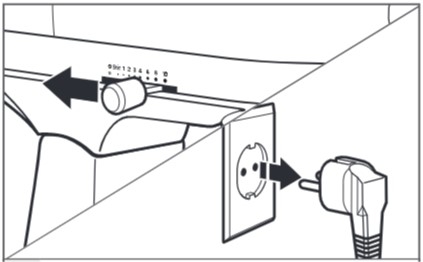
- For mixers with a hinged attachment hub cover: flip up to open. For mixers with a removable attachment hub cover: turn the attachment knob counter clockwise to remove it.

- Insert the attachment shaft housing into the attachment hub, making sure the power shaft fits into the square hub socket.
If necessary, rotate the pasta press back and forth. The pin on the attachment housing fits into the notch of the hub rim when in the proper position.
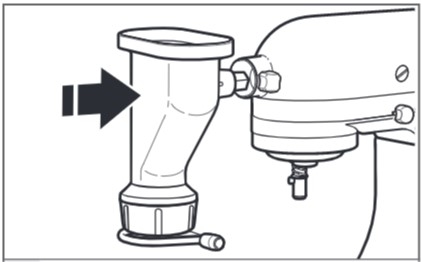
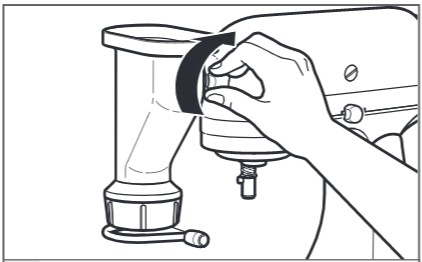
- Tighten the mixer attachment hub knob until the pasta press is completely secured to the mixer.
Looking for other attachments to make pasta? Discover them all here
