You shouldn't have any difficulty removing or attaching the pitcher (jar) in the correct way. Please check our advice below:
Note: If you have yet to use your Artisan blender (product code 5KSB5553), follow these steps before you begin:
- Wipe the blender base with a warm sudsy cloth, then wipe clean with a damp cloth. Dry with a soft cloth.
- Wash the pitcher, culinary jar, lids, locking collar, and blade assembly, sealing ring and ingredient cup in warm, sudsy water. Rinse and wipe dry.
How to assemble the blender with its jar
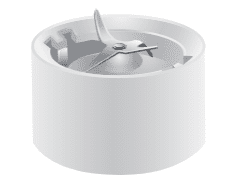
- Put the locking collar with blade assembly pointing upwards on a sturdy surface.
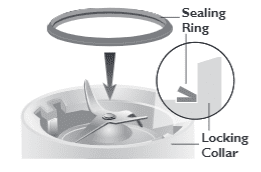
- Put sealing ring, flat side down, around the blades and into the groove within the locking collar.
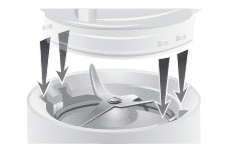
- Align the pitcher (or culinary jar) tabs with the slots of the locking collar.
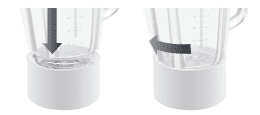
- Press down and rotate pitcher (or culinary jar) clockwise, approximately 1/4 turn until two clicks are heard.
- Adjust the length of the blender power cord.
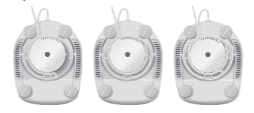
- Put pitcher (or culinary jar) assembly onto the blender base.
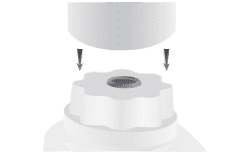 NOTE: When properly positioned, pitcher (or culinary jar) assembly will rest completely on the blender base. If not, repeat steps 3 and 4.
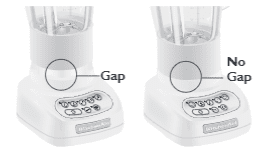
- Put the lid on the pitcher (or culinary jar).
- Plug the power cord into a earthed outlet. The blender is now ready for you to operate.
- Before removing the pitcher (or culinary jar) assembly from the base, always press “O” (Off) and unplug the power cord.
Still having problems with attaching or removing?
If you still need help then feel free to contact our Customer Service team: Email us here OR Call us here - this is a freephone number and service will be provided to you in local language - open Monday to Friday from 8.00 am to 5.00 pm.
